1
/
of
1
Kyocera
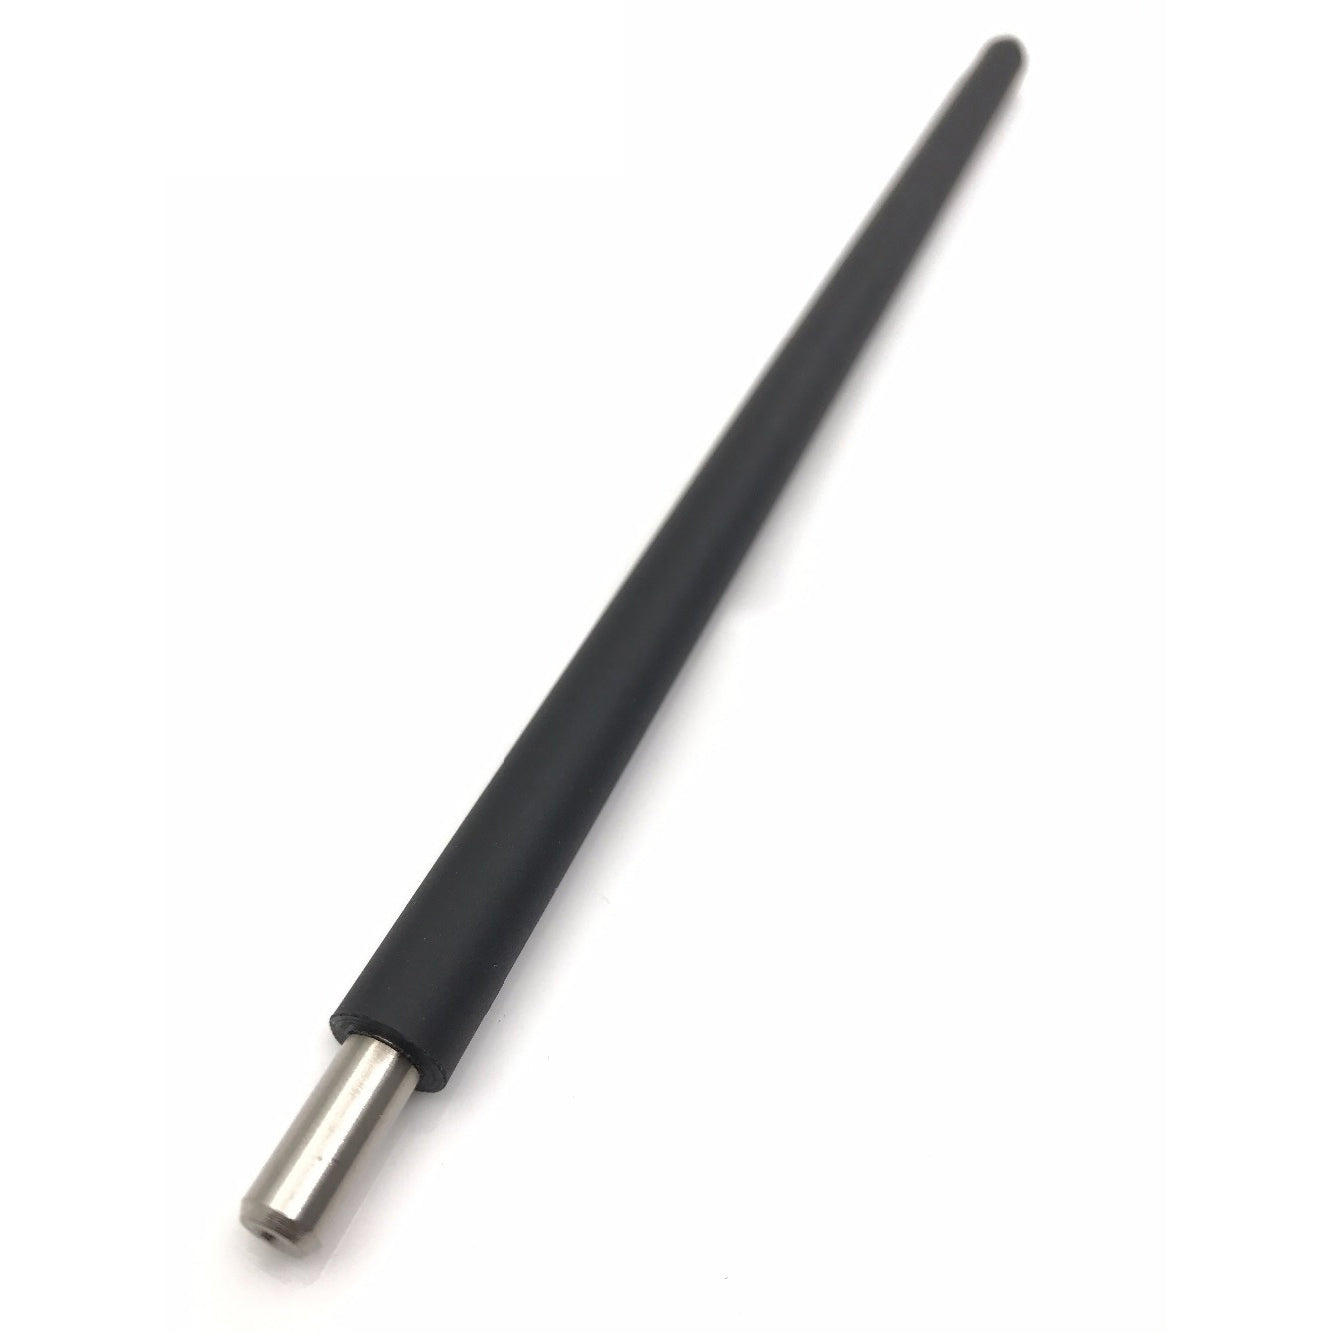
Main Charge Roller for Kyocera PA4500x PA5000x PA5000x Series
Main Charge Roller for Kyocera PA4500x PA5000x PA5000x Series
Regular price
£30.00 GBP
Regular price
Sale price
£30.00 GBP
Unit price
/
per
Shipping calculated at checkout.
Condition: New
Couldn't load pickup availability
New Original
Kyocera PA Series Main Charge Roller New Original
Genuine Main Charge Roller for Kyocera PA Series
New original main charge roller for selected Kyocera ECOSYS PA series printers.
- Direct-fit main charge roller for Kyocera ECOSYS PA series printers
- Printer Genie part number: MCPA4500X
- New original part
- Helps with faded print, grey backgrounding, streaking and uneven print density
- 90-day Printer Genie warranty included
- UK supplier - despatched from our warehouse
Specifications
| Component | Main Charge Roller |
| Printer Genie part number | MCPA4500X |
| Alternative part numbers | Not shown for protected model-specific listing |
| Condition | New Original |
| Target location | Main charge roller / drum charging area |
| Quantity supplied | 1 x Main Charge Roller |
| Compatible printers | Kyocera ECOSYS PA4500x, PA5000x, PA5500x, PA6000x |
| Warranty | 90-day Printer Genie warranty against manufacturing defects |
| Weight & delivery | Shipping weight approx. 500 g — courier delivery, tracked |
Compatible Printers
This main charge roller is listed for the following Kyocera ECOSYS PA series models:
| Model | Part Number | Notes |
| Kyocera ECOSYS PA4500x | MCPA4500X | Protected model-specific listing |
| Kyocera ECOSYS PA5000x | MCPA4500X | Protected model-specific listing |
| Kyocera ECOSYS PA5500x | MCPA4500X | Protected model-specific listing |
| Kyocera ECOSYS PA6000x | MCPA4500X | Protected model-specific listing |
What's Included
- 1 x Main Charge Roller for Kyocera PA series printers
- Printer Genie part number: MCPA4500X
- 90-day Printer Genie warranty
Install Notes
- Power off and unplug the printer before installation.
- Access the drum / image process area following the Kyocera service procedure.
- Remove the old main charge roller carefully, avoiding contact with the roller surface.
- Fit the replacement roller in the correct orientation.
- Reassemble the printer and run test prints to confirm stable print quality.
Share