OKI
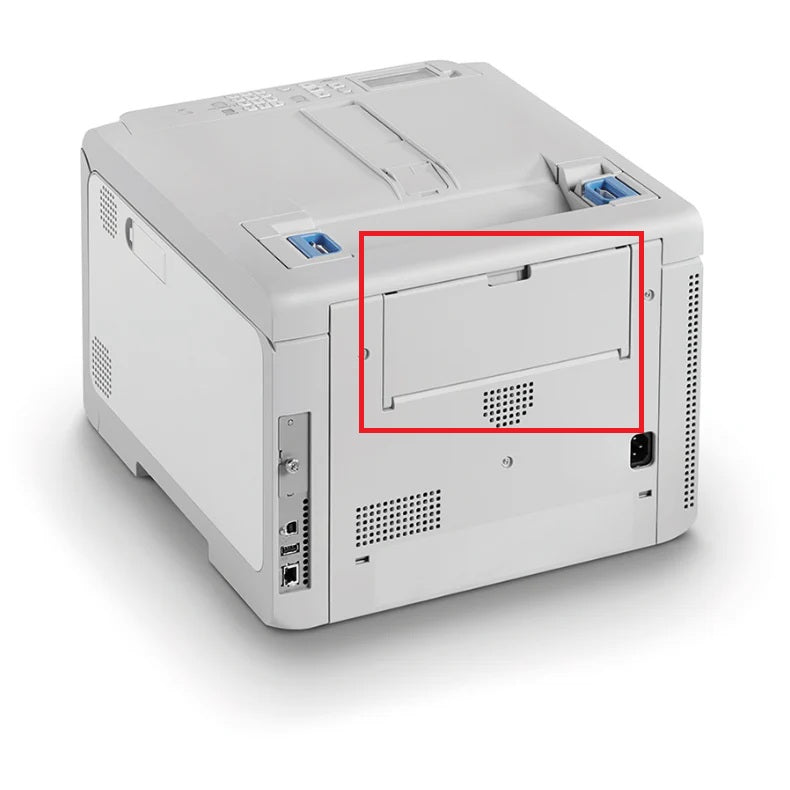
OKI 47120601 Rear Door — New Genuine Spare Part for C650dn
OKI 47120601 Rear Door — New Genuine Spare Part for C650dn
Regular price
£58.00 GBP
Regular price
Sale price
£58.00 GBP
Unit price
per
Shipping calculated at checkout.
Condition: New
Couldn't load pickup availability
New
OKI 47120601 Rear Door — New Genuine Spare Part for C650dn
OKI 47120601 Rear Door — OKI C650dnReplacement rear access door for clearing jams and printing heavy paper through the straight-through path
|

|
Specifications
| Component | Rear Door Assembly — complete replacement rear access door |
| Primary OEM part number | 47120601 |
| Alternative part numbers | None confirmed |
| Condition | New — genuine OKI part, produced to OEM specification |
| Location | Rear of the printer — opens for jam clearance and provides the straight-through path for heavy paper |
| Quantity supplied | 1 × Rear Door Assembly |
| Compatible printers | OKI C650dn |
| Warranty | 12 months against manufacturing defects — normal wear from use is not covered |
| Weight & delivery | [WEIGHT_DELIVERY — add before publishing] |
Compatible Printers
This rear door is specific to the OKI C650dn. If you're unsure whether your printer uses this part, contact us with your model number before ordering.
| Model | Part Number | Notes |
| OKI C650dn | 47120601 | Rear door — also used as the straight-through path for heavy or thick paper stock |
What's Included
- 1 × OKI Rear Door Assembly for C650dn (47120601)
- No companion parts required — this is a complete, ready-to-fit replacement assembly
Install Notes
- Power off and unplug the printer.
- Open the existing rear door fully to access the hinge pins.
- Release the hinge pins or retaining clips securing the door to the chassis.
- Lift the old door away from the printer.
- Align the new door assembly with the hinge mounts and fit the retaining clips or pins.
- Open and close the door a few times to confirm it operates smoothly and latches securely.
- Run a test print using the straight-through path to confirm correct seating, especially if printing heavy paper.